
One of the most important items you can have in your hammock gear set up is an underquilt. If you’ve spent a cool night hanging out only to awake in the night with a cold back side you know how miserable it can be. Sure, pads are an option, but often those shift in the night, or are too small to cover everything, and you end up with a cold shoulder, leg, or side. This is when you need an underquilt. Not only will it properly cover your underside, but may even be less bulky and heavy than carrying multiple pads that may not be cutting it. So what exactly is an underquilt?

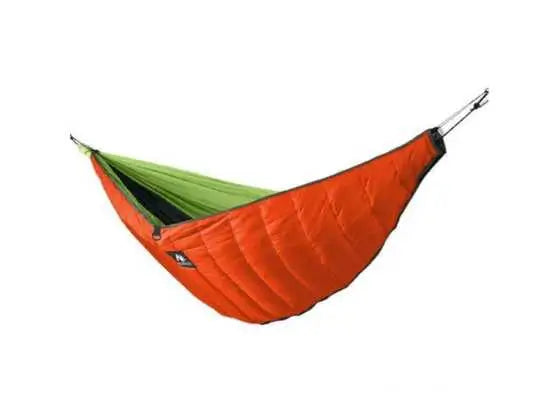
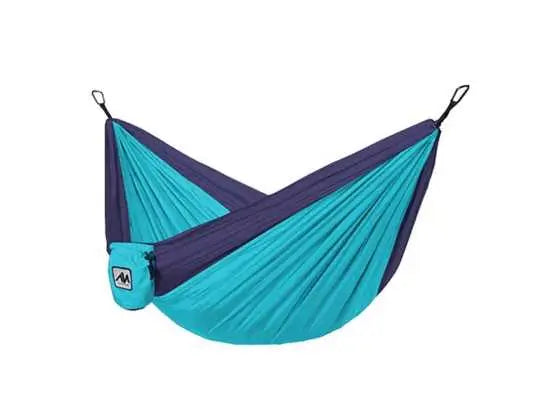
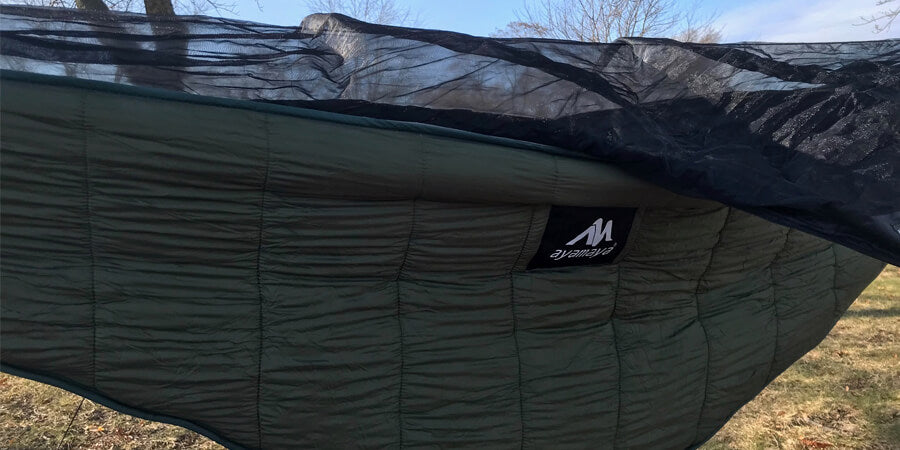
An underquilt is a blanket that hangs beneath and around your hammock to keep you warm. It’s generally made of the same material as your sleeping bag, and either has a down or synthetic fill. It will feature some sort of way to attach to the ends of your hammock, so that it can hang below and around you, either partially or fully like you’re the yummy center of a hammock burrito. Often manufacturers use elastic or shock cord around, and on the ends, so that it snugs up to the hammock. Check out the pics below to see the differences and features. More expensive underquilts will offer lighter weight materials, and usually some sort of down filling. You can get them, similar to sleeping bags, for different temperature ranges. Some will taper at the ends, which will save your space and weight, but doesn’t allow for a diagonal lay if you’re taller than approximately 5’5”. A more typical underquilt will have ends that are open but that can be easily gathered so that the underquilt wraps around you while still allowing from some wiggle room. This will allow you to get that diagonal lay. The pic below shows you the difference between the two styles. Areas that aren’t covered by the underquilt will get cold at night, and can really ruin your sleep. If it’s really cold, like winter camping, you may opt for the underquilt burrito option as show here. You basically wrap yourself and the hammock entirely in the underquilt to keep in the warmth.
An underquilt acts to create a warm barrier between you and the cold air below you. It does this in 3 ways. First by blocking wind from going through your hammock and making you cold at night. Second by having loft, or pockets of air, within the fill of the underquilt that works as insulation, and third by creating a space of air between the elements, and you in your hammock. You can see in the diagram how barriers are created, that help block and insulate you from the cold.
In many cases, except in very warm climates, with no wind, you’ll want an underquilt. When temps dip lower, or there is a breeze you’ll be thankful to have something to block the wind and insulate you from the cold. Like with sleeping bags you can get underquilts for warmer weather or cooler weather. Some people will have both in their gear and travel with which ever is appropriate to the season.
Choosing the right underquilt will depend on a number of factors. First, the weather, do you need something for Summer/Spring hangs, or will you be Fall/Winter camping? Seconds what is your budget? Like with most things there are various manufacturers and different quality underquilts. You can spend $50-400 on an underquilt; and you get what you pay for. Less expensive underquilts will tend to use heavier materials, the hardware to hang it may not be as good, and it won’t pack up as small. Not to mention the fill power may be less, or the cut may be smaller so if you’re tall it doesn’t cover you, and you could end up with a cold night of little to no sleep. More expensive underquilts will usually use lighter weight materials, that pack smaller, and lighter, but offer good coverage, maybe even varying sizes. The fill will often be down or a good quality synthetic that allows for good loft and therefore insulation. The hardware will also be of good, durable, quality, that will hold up after many nights and seasons of use. After establishing your budget, the third thing to consider is what options, like those listed above are most important? Depending on the budget you may forego size or weight for warmth; especially if your hangs are mostly car camping, and carrying weight isn’t a factor. Some manufacturers will make half, ¾, and full length underquilts. Half is good for ultra-light back packers or those that are in warmer climates or that don’t tend to get cold. It will be lighter to carry and smaller to pack. A full length one will be necessary for winter camping, or if you tend to get cold as it’s going to cover the full length of you. The downside of course is the amount of space it takes in your pack and the added weight. A happy medium would be the ¾, but take care to pack good socks and pants to keep those feet and lower extremities warm. Another thing to consider is the fill; down or synthetic. Down is traditional and will be warmer with less weight, however where synthetic excels is in wet weather. So, if you are winter camping, or expecting wet weather consider a synthetic fill. Don’t forget, like tarps and your hammock, you can pretreat it with a waterproof coating to help keep it dry. Also make sure to pack it so that it doesn’t get wet if you’re hiking in the rain or say portaging. A garbage bag can handle the job well, for low cost and with minimal weight added. Also try and set up in dryer areas and make sure your tarp covers you well. You don’t want wet gear.

Now that you’ve got your underquilt you need to set it up. It should be pretty simple, and go fairly quickly. With your hammock already set up you are ready to attach your underquilt.
- Remove the underquilt from your pack and or its stuff sack, and fluff it out. You want to create space and loft in the fill, this will provide better insulation for you.
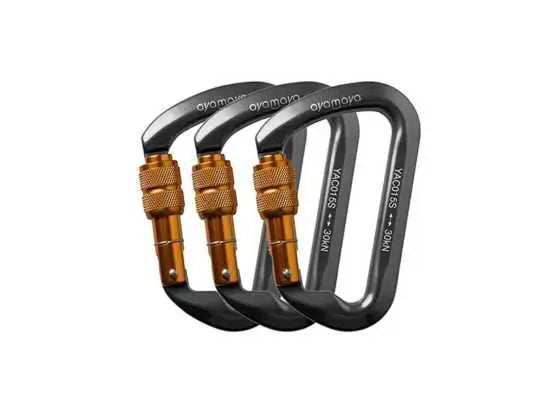
- At each end, attach the underquilt to your hammock’s suspension using either the shock cord, carabiners, prusik knots, or cord locks. Generally, the manufacturer will have included some sort of hardware to do this.
- Adjust the placement of the underquilt so it wraps around the bottom of your hammock, and is centered if you have a full length underquilt. Imagine you’re covering the bottom of your hammock like you would your pack with a rain cover.
- Next hop in and test it out. Make sure it pulls up around your shoulders, and covers down to your feet and legs, if you have the full length size. If it’s not covered it will be cold in the night. The shock cord all around will help with this. You can give more or less slack as you need by adjusting where it attaches to hammock suspension. You want it snug, with a slight amount of space between it and the hammock on the bottom.
- Finally, once it’s all in place tighten up your ends so that you close up the area where air can get in. You don’t want to create a tunnel for air to pass right through or you will have a cold night.
Having and using a quality underquilt can really mean the difference between a good night sleep or a terrible one in your hammock. Be sure to add it to your set up. You’ll be happy you did.

